

Yummy Gluten Free Food
![IMG_6642[1].JPG](https://images.squarespace-cdn.com/content/v1/6030f0fb46efce666cfe5019/1615374867543-QTK3ML5CXXO4RWBJ8D3V/IMG_6642%5B1%5D.JPG)
![IMG_6650[1].JPG](https://images.squarespace-cdn.com/content/v1/6030f0fb46efce666cfe5019/1615374932050-TFOWLSK7THNP5NDGMB3J/IMG_6650%5B1%5D.JPG)
Recipe Name: Brown Bread Loaf
Prep time: 15 minutes Cooking time: 45-50 minutes
Prepare in advance:
Weigh out all ingredients in advance. Pre heat oven 210oC. Line the base of 23x13cm (2lb) loaf tin.
Ingredients: Quantity:
Sorghum flour blend* 350g
Oat Flour 100g
Oat Bran 50g
Xanthan gum 2 level teaspoons
Baking Powder 3 level teaspoons
Low salt 1 teaspoon
Brown sugar 2 teaspoons
Buttermilk 400 mls
Hazelnut yogurt 250g (2 individual 125g cartons)
Porridge oatlets A handful (optional)
Method:
· In a large bowl, sieve all the dry ingredients together making sure they are mixed in well together.
· In a measuring jug, add the 400mls of buttermilk and 250g hazelnut yogurt. Whisk together and pour into the dry mixture.
· Fold the wet and dry mixture together making sure they are evenly mixed.
· Pour the mixture into the pre lined loaf tin and spread evenly. Scatter the porridge oatlets on top of the bread mixture and gently press down.
· Place the tin into the centre of the oven (middle shelf) and bake for 45-50 minutes**
· When baked leave to cool on a wire tray for at least 1 hour before having a slice with some real Irish butter.
Note:
* We prepare a large container of the sourghum flour blend to have on hand whenever we bake the bread. The blend mixture is 350g sourghum flour, 350g potato starch and 300g tapioca flour. Sieve together ensuring the flours are well mixed together.
** The bread may be baked in 40 minutes, however we like to leave it for an extra few minutes to make the crust nice and crusty.
Acknowledgement:
This recipe is slightly adapted from one of the best gluten-free cookbooks and chefs, Phil Vickery. His gluten-free cookbook essential gluten-free, 175 recipes that will revolutionise your diet. (Kyle books 2016) We recommend anybody who is Coeliac or gluten intolerant to purchase a copy of his book and make it part of your everyday cooking, you will not be disappointed!
Like any good cook, it is always worth while to experiment with recipes; we adjusted this recipe to create a loaf shape as opposed to a small soda bread shape in the original recipe. We have always loved hazelnut yogurt and bran in brown bread, we believe it adds more to the overall texture. We have added the yogurt instead of the milk and we reduced the oat flour quantity but compensated it with oat bran. The loaf shape makes it easier to cut. The original recipe created by Phil Vickery makes a great loaf, that will last for up to a week and cuts beautifully…enjoy and do visit his Instagram page for more of his great food recipes.
New Post - 12th May 2021
Recipe Name: Baked Ham
Prep time: 15 minutes Cooking time: Boiling the ham - 1 hr 30 minutes (stage 1)
Baking the ham - 1 hour (stage 2)
Prepare in advance: No advance prep…
Ingredients: Quantity:
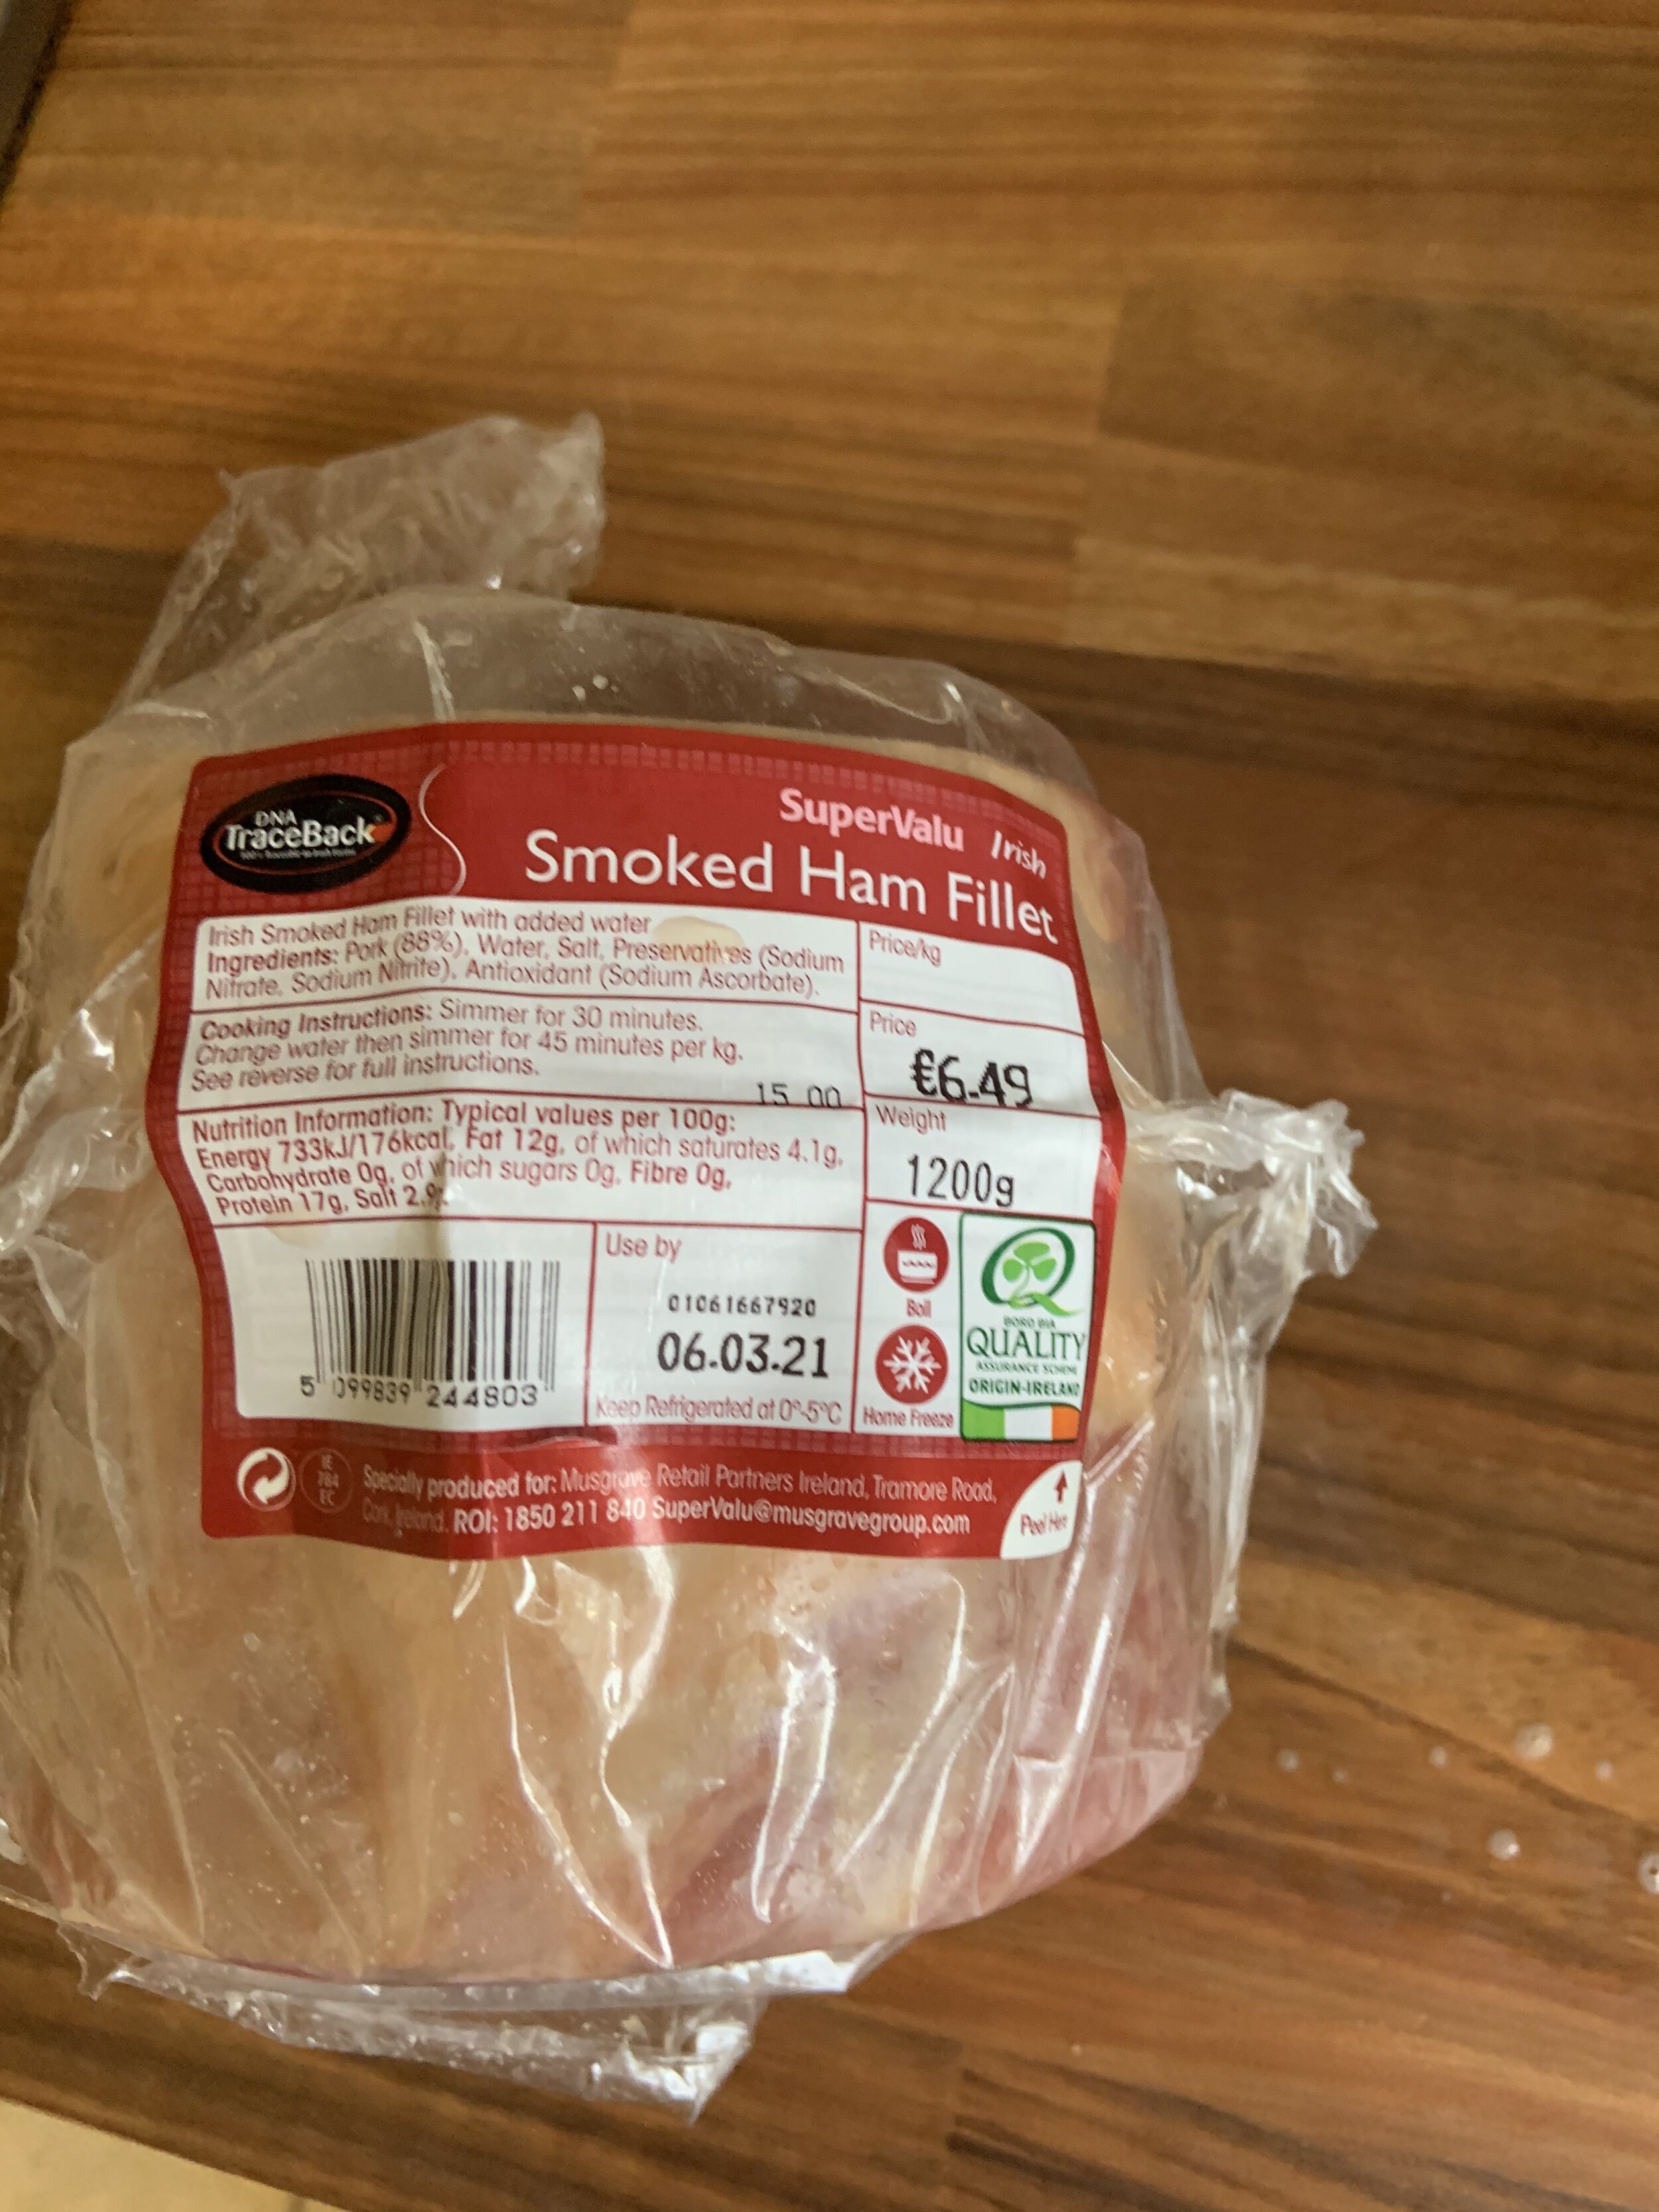
Lean ham (not bacon) 1 kg piece *
Cloves 10 cloves
Light brown sugar 4 tablespoons
Honey 4 tablespoons
Cider 1/2 can of cider
Method:
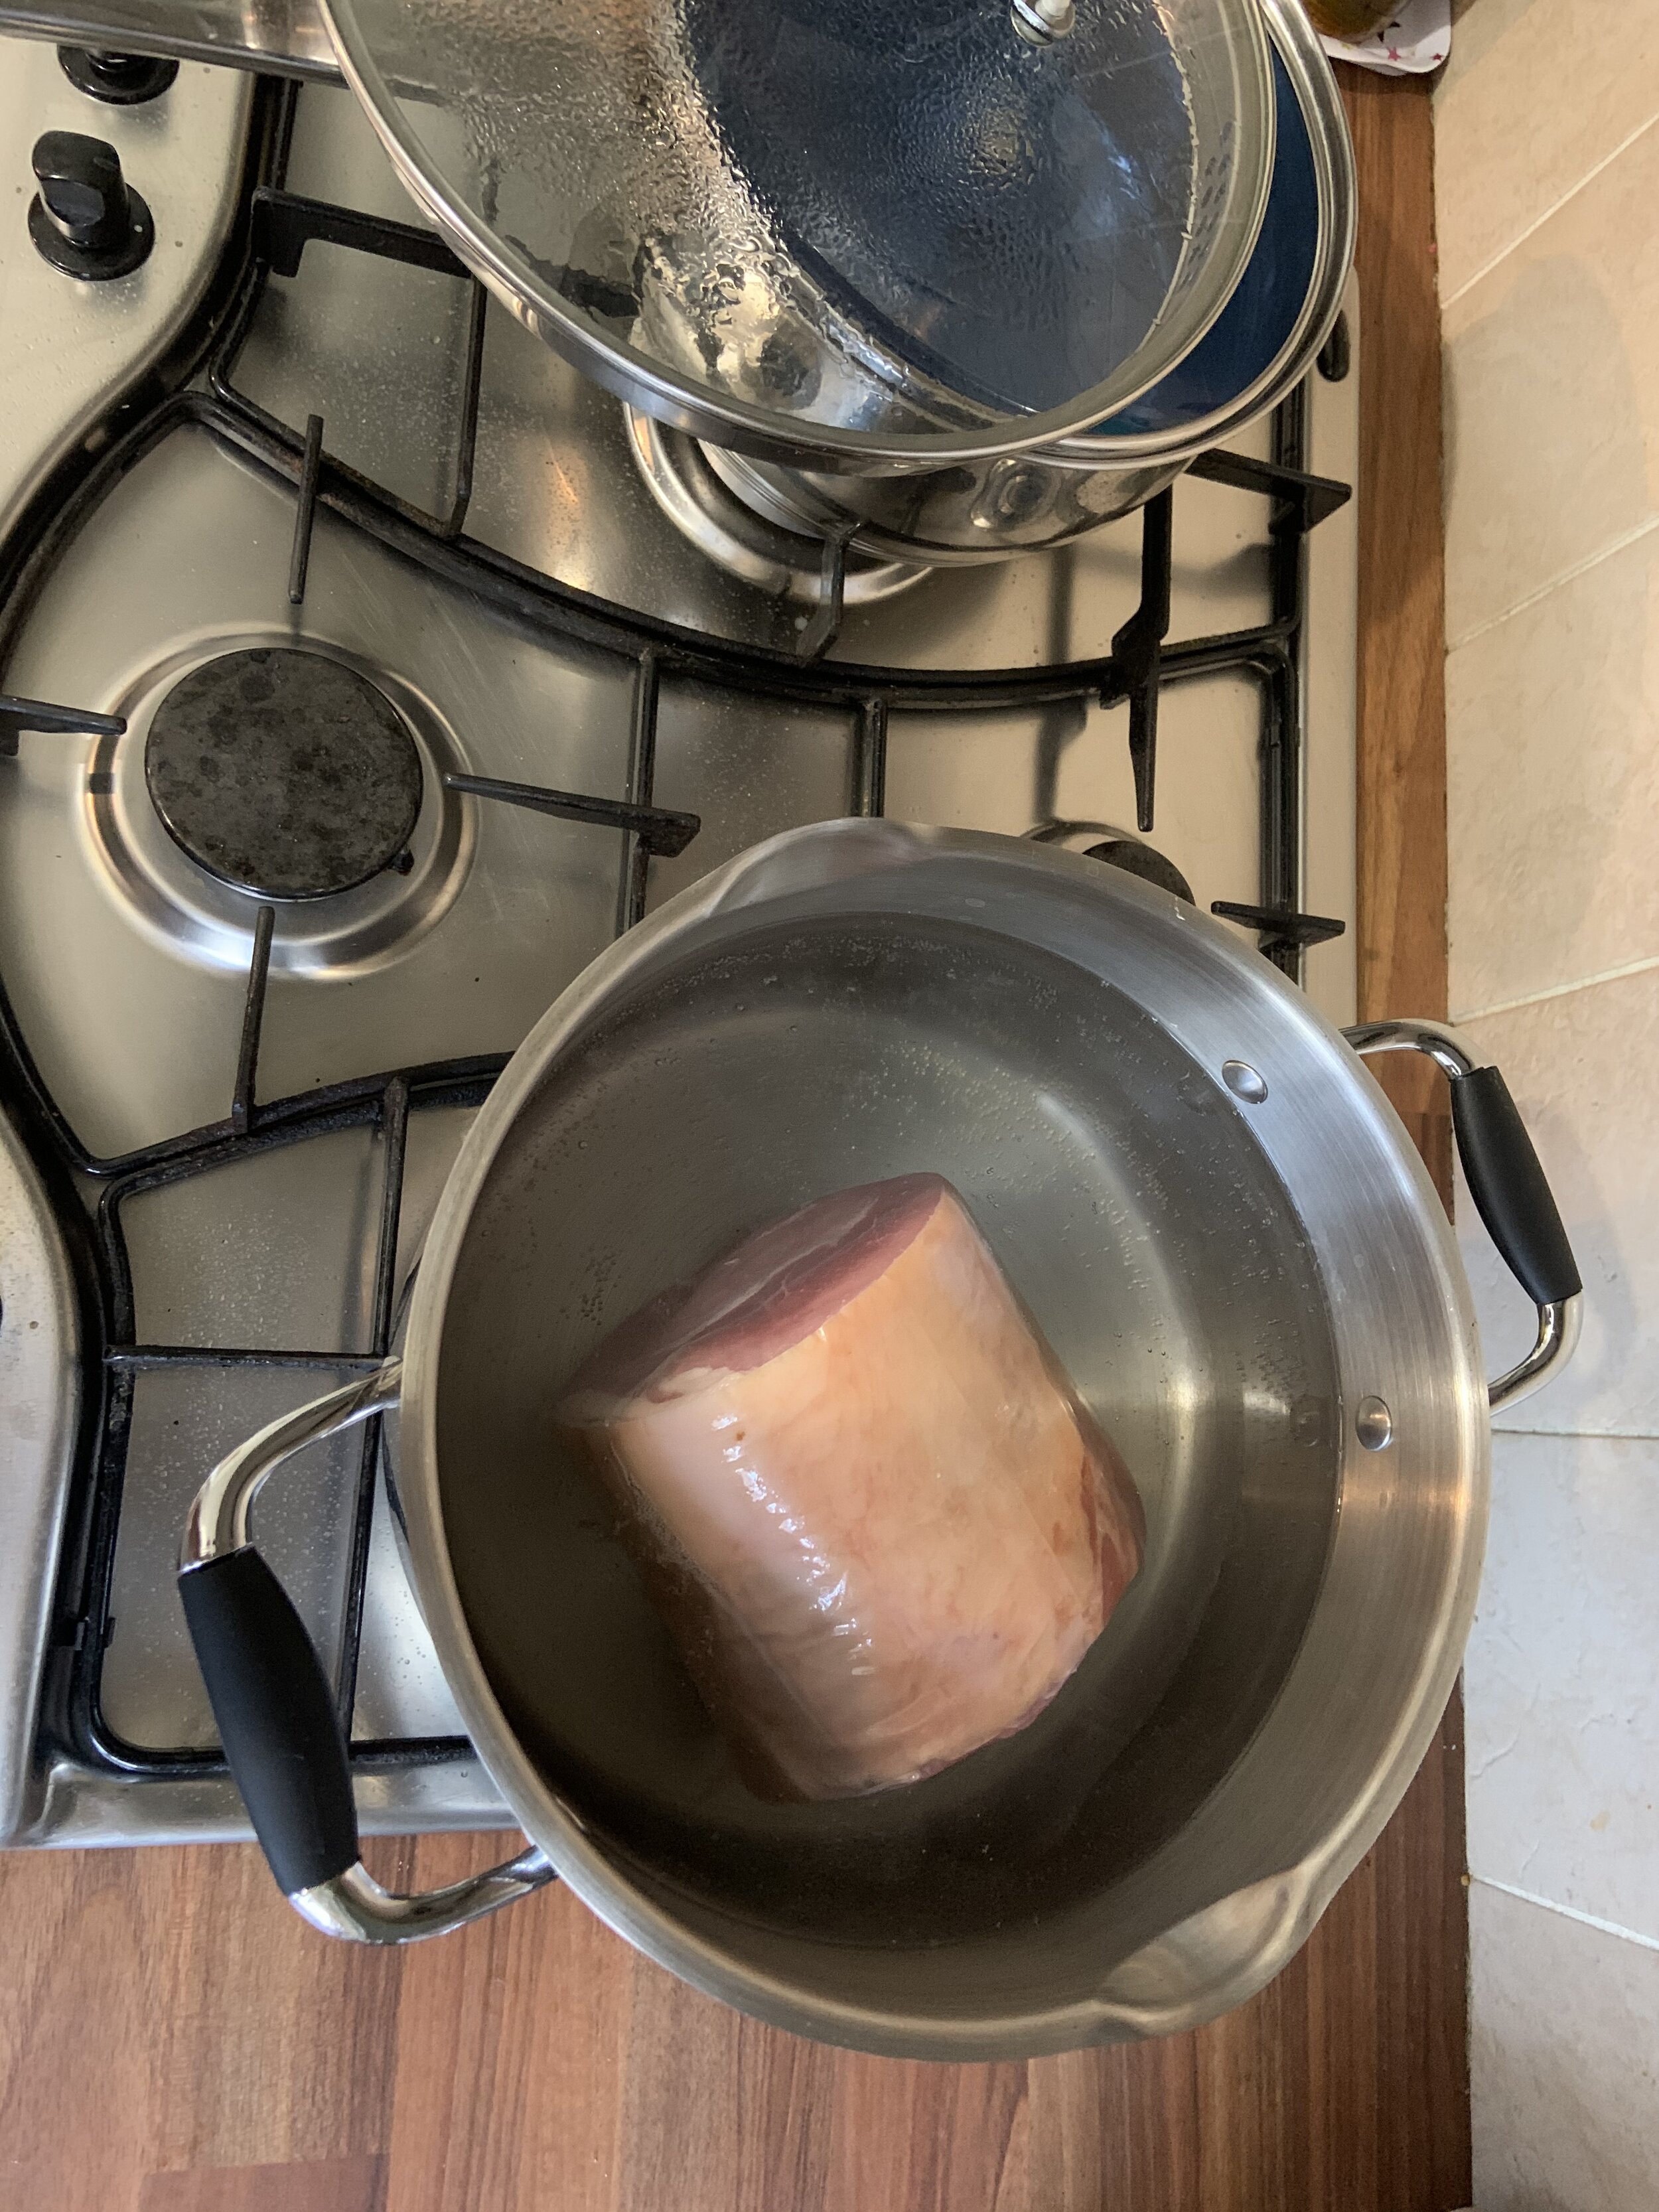
Remove any plastic wrapping from the ham and place in a large saucepan, ensure the ham is covered by the cold water
When the water reaches boiling, turn the heat down so that the water is now simmering for the rest of the cooking time. About half-way through the cooking time, turn the ham around and top up the water, if required, with boiling water
Remove the ham from the saucepan and leave to cool down, to feel cool to the touch
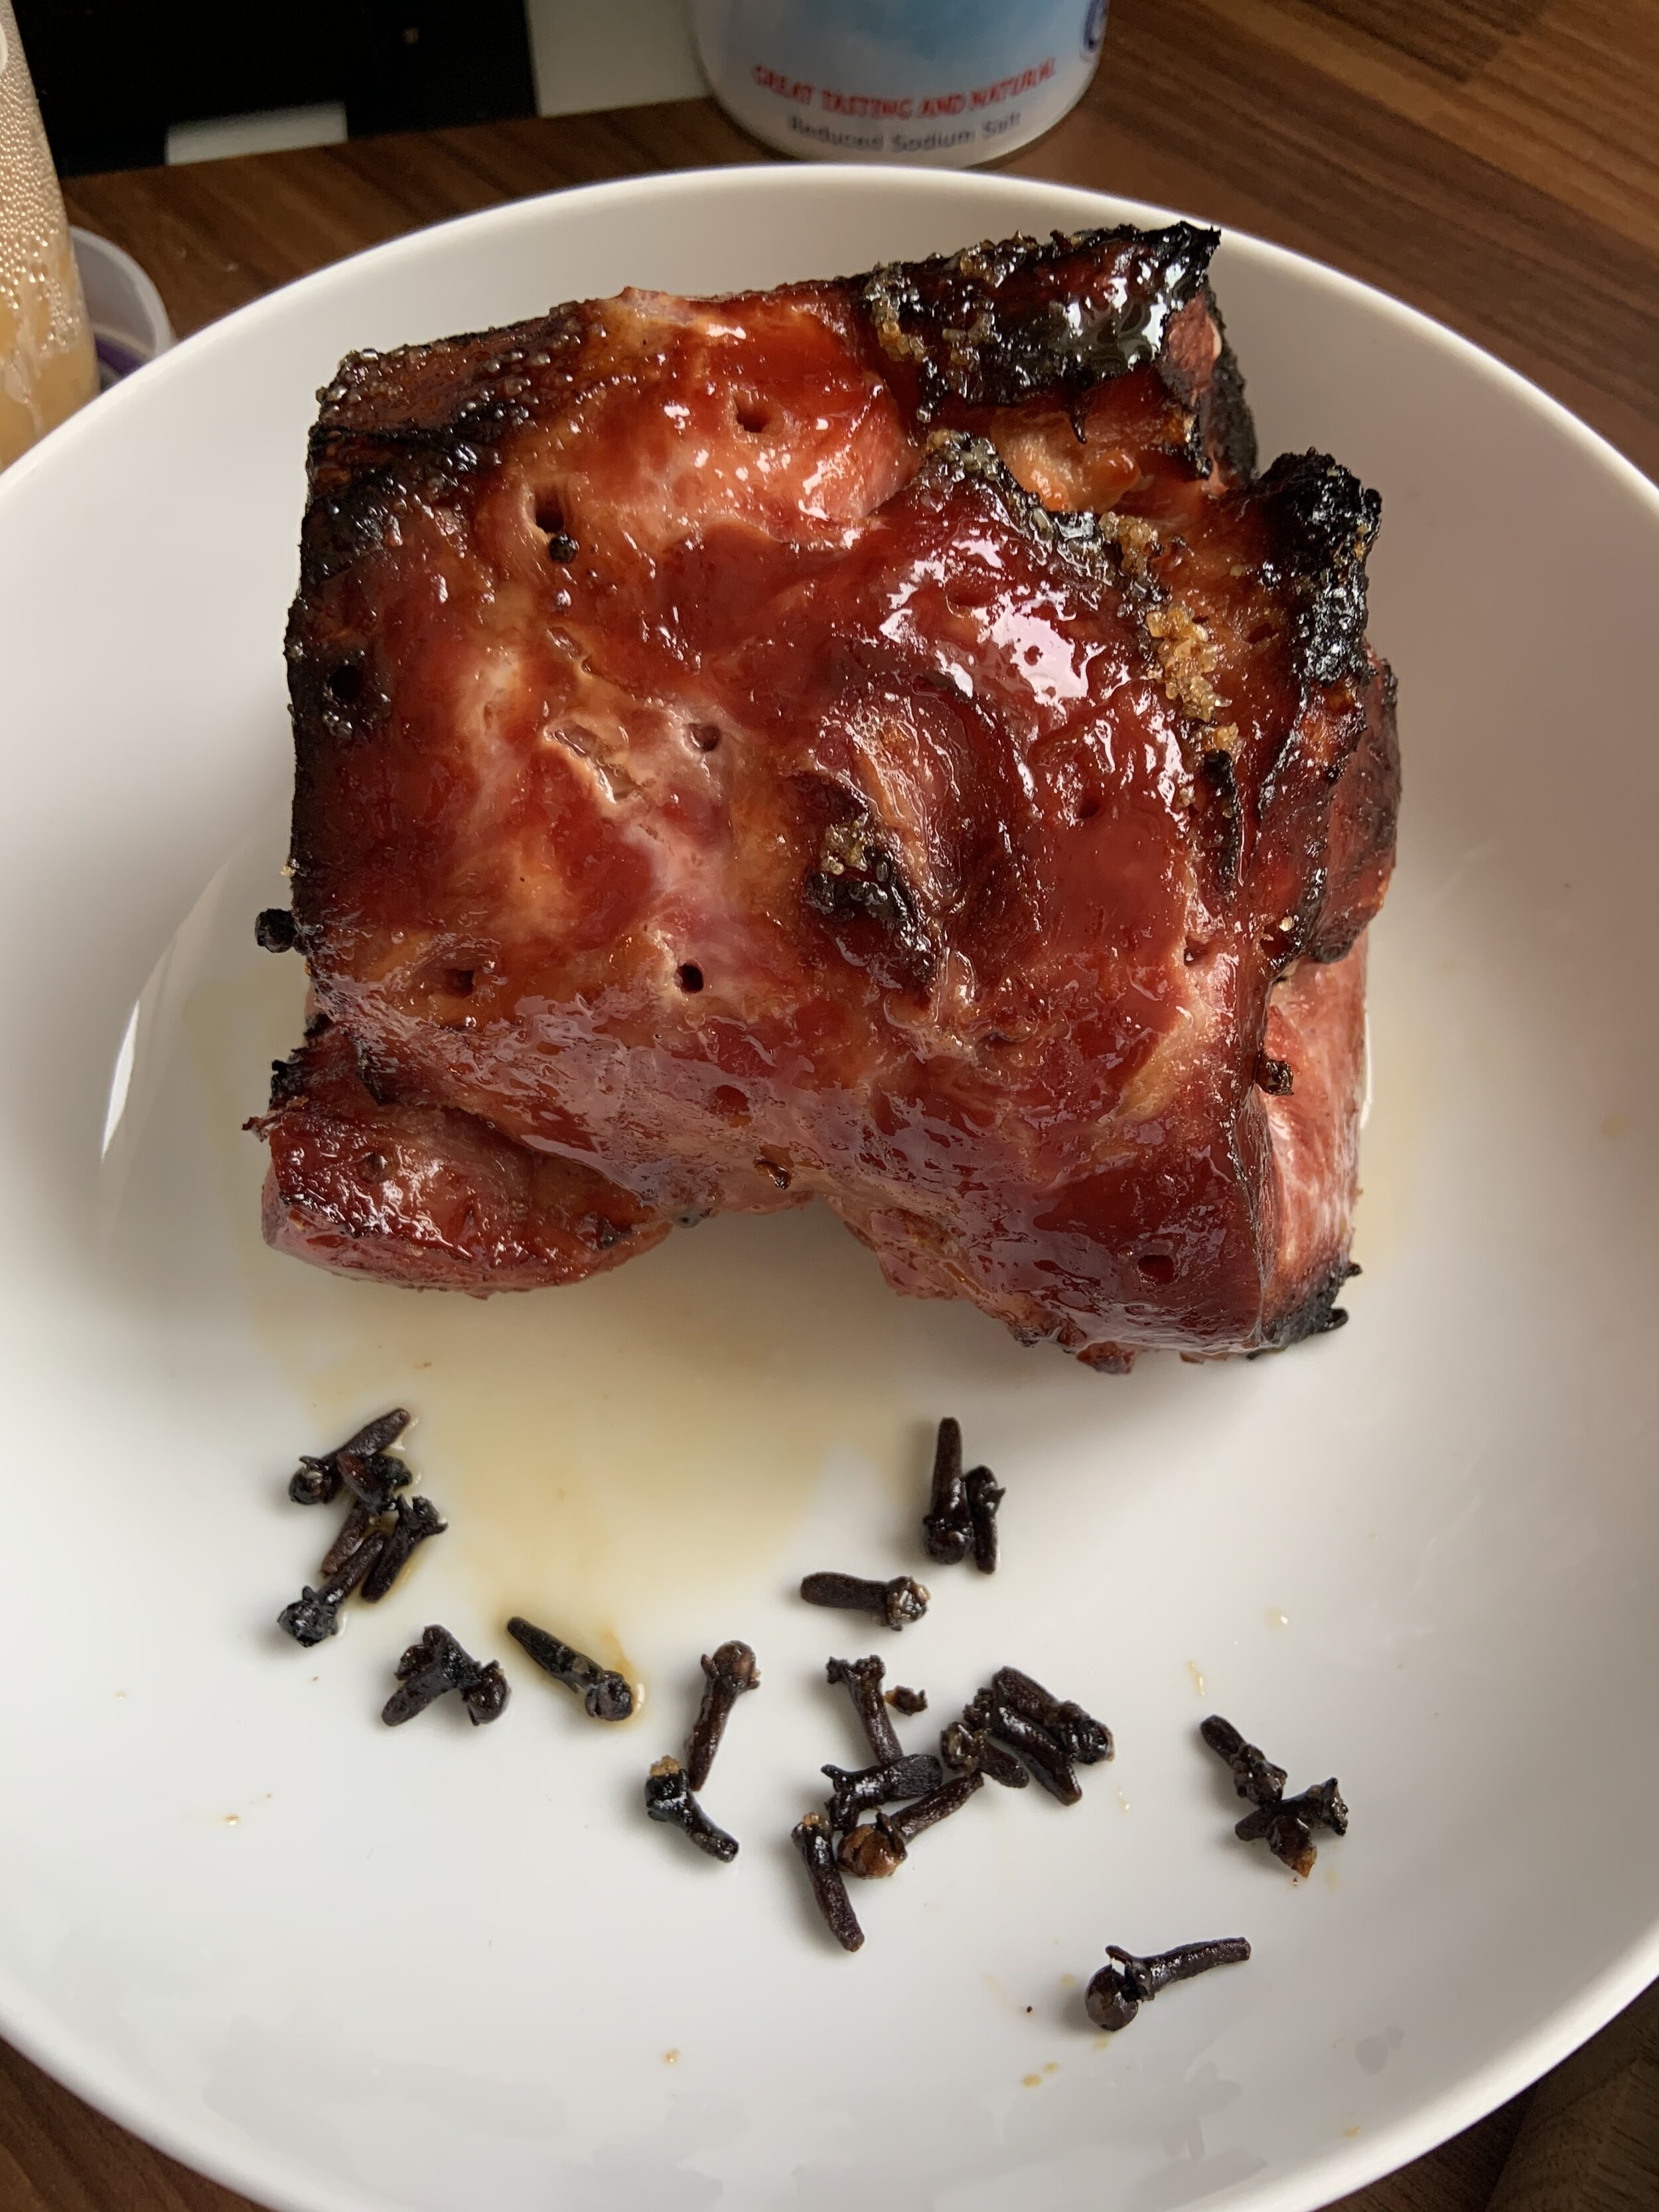
When the ham is cool enough to handle, place the ham is a baking dish (one that is easy to clean afterwards) stud the ham with the cloves; ensure an even distribution of the cloves around the surface of the ham (not underneath side that touches the dish)
Pour the honey evenly over the ham and scatter the brown sugar, also evenly, over the surface of the ham
Pour the 1/2 can of cider into the dish and place in the middle shelf of the oven, cooking for 1 hour at 180 degrees celsius.
About 3 times during the baking process, baste the ham with the cider liquid; this should ensure the ham turns a lovely rich glossy colour and also take on the flavours of the cider, honey and cloves.
Remove from the oven and place the ham on a plate to cool**; remove the cloves and discard. The remaining liquid can also be discarded at this time.
Note:
* The ham size may vary slightly depending on the the packaging and the shop it is bought in. We always purchase our ham in Supervalue; we find he quality and price hard to beat. Spend some time checking out the ham, looking for no major divisions within the ham. Try to buy a ham that looks like a whole piece as opposed to 2 or 3 pieces stuck together; you will come across the odd one like this!
** The ham can be served and eaten straight from the over or left to go cold and carved into very thin slices for the week ahead. We find taking the time to slice up the ham for the week ahead provides better value and quality of ham for the family as opposed to buying a packet ham and paying a lot for 4 or 5 slices!
Name: Chicken Jalfrezi - our style…we got this recipe from our good friend Mark in East Cork, where we all live at the moment. We decided to blend the vegetables as a family member dislikes biting into “hard bits”…as it turned out we prefer this way now, more flavor!!
Prep time: 15 minutes
Cooking time: 15 minutes on a medium heat and 30 minutes on a low simmering heat
Serves: 4 small or 2 large portions (if you are very hungry)
Ingredient’s:
Rapeseed oil 3 tablespoons
Tikka Masala Paste 3 tablespoons
Cumin 2 generous teaspoons
Ground turmeric 1 generous teaspoon
Garam masala 2 level teaspoons
White onion 1 large
Garlic 3 large cloves (crushed)
Fresh root ginger 1 inch piece, peeled and very finely chopped or grated
Red pepper 1
Green and yellow ½ of each
Dried chili flakes ½ teaspoon
Chicken meat 4 large breasts or 8 thighs
Tinned chopped tomatoes 800grams (2 x 400 gram tins)
Salt/ground black pepper to taste
Prepare in advance:
Chop into very small pieces or blend (our preferred way) the onion and peppers (separately). Crush the garlic and chop very finely or grate the ginger. Chop the chicken meat into small pieces, blend the tinned tomatoes so there are no chunky bits.
Methodology:
· In a large deep cooking pan, add the oil and Tikka masala paste and gently warm up to allow the paste to heat up – 2 minutes (medium heat)
· Add all the spices, followed by the pre-chopped/blended ginger, onion and pepper mixture, stir into together and cook for 5 minutes (medium heat)
· Add in the chopped chicken meat and cook, under a lid, for another 8 minutes, stirring once (medium heat)
· Add the tinned, chopped tomatoes and stir everything together, increase the heat to a nice simmer and cook for another 15 minutes (low heat)
· Remove the lid and reduce the heat and cook for another 15 minutes (low heat)
· Season to taste and add the fresh chopped or dried coriander when serving
We suggest you make this early in the morning for serving later that evening or better still, leave over night for a better flavor all round
Serve with GF garlic nan bread, poppadum’s and long-grain boiled rice, all easily available at your local grocery store
Tip!! cook your poppadum’s in the microwave; place an individual poppadum on the glass plate and cook for 1 minute only on the high power setting